

How to Create a Vision Board That Leads to Action
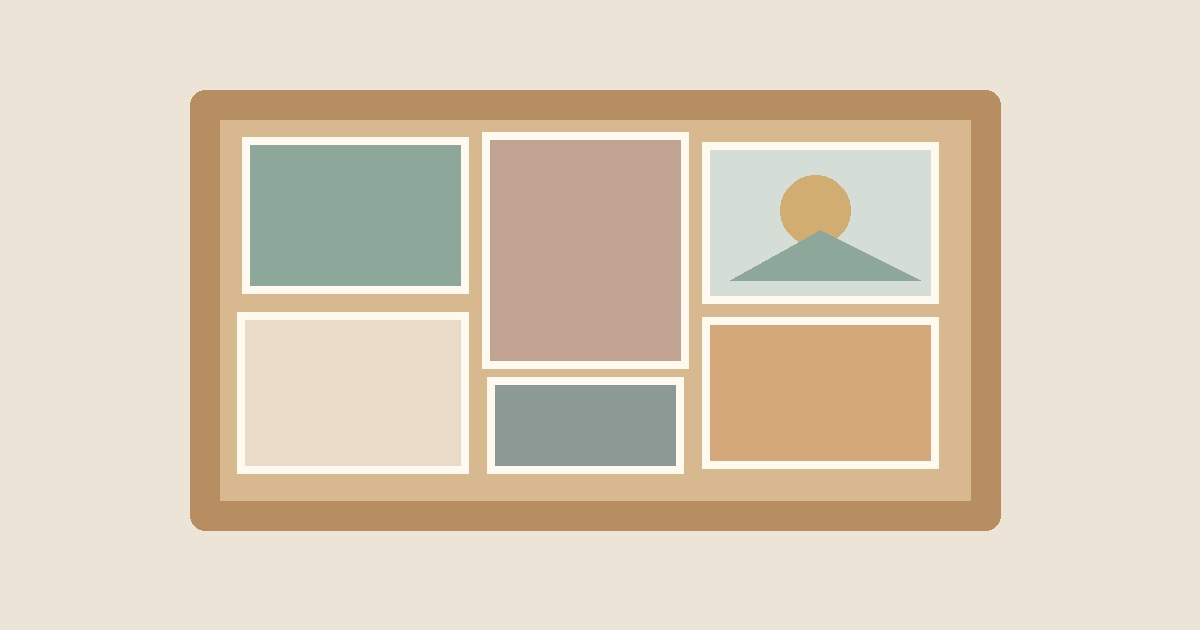
A vision board is a collage of images, words and symbols that represents the life you want to build. People make them on poster board, in a notebook, on a corkboard, or in a free design app. The format matters far less than the thinking behind it. A board that is only pretty can fade into the background of your room. A board that is built from clear goals, and paired with a few concrete next steps, can become a small daily reminder of what you are working toward.
This guide walks through how to create a vision board in seven steps, shows you how to choose between a physical and a digital version, and explains why the most useful boards do more than collect happy pictures.
What a vision board is (and is not)
A vision board is a visual summary of your goals and values. It is not a spell, and it is not a promise that wishing will make things happen. Research on motivation suggests that the way you imagine your goals matters. A 2014 Greater Good magazine review of a book by Gabriele Oettingen, a motivation researcher at New York University, describes a study in which college students who wrote only positive fantasies about their upcoming week reported lower energy right afterward than students who wrote a mix of thoughts, and a week later the students who had felt less energized reported accomplishing less. Oettingen's alternative, which pairs positive imagining with a look at the obstacles in the way, is called "mental contrasting." The same review points out that few of the experiments in the book were run by anyone other than Oettingen herself, so it is wise to treat the findings as promising rather than settled.
The practical takeaway is simple: use the board to make your goals clear and visible, then add a plan. That is the approach used in the steps below.
Step 1: Pick a time frame
Decide what period the board covers. Three months suits a focused project, such as a career change or a home move. A year works well for a broad reset. Five years is useful for big themes, but the further out you go, the more general your images will be. If this is your first board, a single season or a single year is a good place to start.
Step 2: Write down what you want before you look at any images
It is tempting to start with a stack of magazines or an endless scroll of photos. Resist that for now. Take ten minutes with a notebook and answer a few questions:
- What would a good ordinary day look like a year from now?
- Which areas of life matter most right now: work, health, relationships, home, travel, learning, money, creativity?
- What do I want to feel more of, and less of?
- What is one thing I would regret not trying?
Choose three to six themes. Fewer is better. A board with twenty competing goals is a to-do list in disguise, and it is hard to act on.
Step 3: Turn each theme into a specific wish
"Be healthier" is a mood. "Walk thirty minutes after dinner four times a week" is something you can picture and measure. For each theme, write one sentence that describes the outcome you want in plain language. You do not need a perfect sentence, but you do need one specific enough that you would know when you had done it.
A research summary from Gail Matthews at Dominican University of California gives a reason to put goals in writing. In her study, participants who wrote down their goals reported achieving more over four weeks than participants who only thought about them (progress was self-rated), and the group that also wrote action commitments and sent weekly progress reports to a supportive friend reported the most. Of 267 people recruited, 149 completed the study, so it does not prove that writing guarantees success, but it suggests that clarity and accountability can help.
Step 4: Gather your materials
Choose your format now.
Physical board. You will need a poster board, cork board or large sheet of heavy paper, scissors, glue or tape, and a source of images such as old magazines, printed photos, postcards and your own handwriting. A physical board takes longer, which can be a feature: cutting and arranging slows you down and makes you decide what really belongs.
Digital board. A digital vision board can be built in a design app, a slide deck, or a photo-collage tool, or by saving images to a private board on a social platform. It is easy to edit, simple to set as a phone or laptop wallpaper, and free of clutter. The tradeoff is that endless choice can lead to dozens of images with no focus, so set a limit before you start, such as twelve images.
If you are unsure, make a digital board first. You can always print it later.
Step 5: Choose images and words that match your wishes
For each theme, look for one to three images that capture the feeling or the result. A few tips:
- Be literal when it helps. If you want to run a 5K, a photo of a finish line is clearer than a generic picture of a sunrise.
- Use words too. Short phrases, a quote that matters to you, or a single word like "steady" or "curious" give the board a voice.
- Include process, not only outcomes. A picture of a quiet desk or a packed gym bag represents the daily action, not only the prize.
- Leave out other people's goals. If an image appeals only because it looks impressive, skip it. The board should look like your life, not someone else's.
- Mix in a few personal photos. Images of people and places you love remind you what the goals are for.
Step 6: Arrange the board and add a small plan
Group images by theme, and give each group a little breathing room. One option is to put the most important theme near the center; another is to place the images in a loose grid with a one-word label above each.
Now do the step that separates a decoration from a tool: add a plan. Oettingen and Peter Gollwitzer's method, known as WOOP, is one simple way to do it. WOOP stands for Wish, Outcome, Obstacle, Plan. For each theme on your board:
- Wish: the specific thing you want.
- Outcome: the best result, and how it would feel.
- Obstacle: the main thing that is likely to get in your way. The WOOP project's own guide suggests looking for an inner obstacle, such as a habit, an emotion or a belief, because that is the part you can change (for example, "I feel too tired after work").
- Plan: what you will do when the obstacle appears, written in the "If [obstacle], then I will [action]" form the WOOP guide uses, such as "If I feel too tired to go for a walk, then I will put on my shoes and go for just ten minutes."
Write the plan on a card or on the back of the board. Even one WOOP per theme is plenty.
Step 7: Put it somewhere you will see it, and review it on a schedule
A board in a drawer does nothing. Hang it near your desk, on the inside of a closet door, or beside your bed. For a digital version, use it as your phone lock screen or desktop background.
Then schedule a short review. A five-minute check-in each Sunday is one simple option: look at the board, note one thing you did toward each theme, and decide one small action for the coming week. If you like accountability, take a cue from the Matthews summary and share your goals, or a weekly update, with a friend who will encourage you.
Plan a larger refresh at the end of your time frame. Take down images that no longer fit, celebrate what you finished, and build the next board from what you learned.
Vision board ideas by life area
If you are stuck, these prompts can help you find images and words:
- Career and work: a workspace you would love, a skill you want to learn, a title or project you are aiming for, a book or course you plan to finish.
- Health and energy: a favorite way to move, a simple meal you want to cook more often, a sleep routine, a place outdoors where you feel calm.
- Home: a room you want to redo, a garden corner, a tidy entryway, the feeling of a home that is easy to keep.
- Relationships and community: a weekly dinner with friends, a hobby group, a family tradition you want to start.
- Travel and adventure: a destination, a train ride, a hiking trail, a city you want to explore, a weekend close to home.
- Learning and creativity: an instrument, a language, a sketchbook, a writing habit.
- Money: a savings target written as a number you choose, a debt-free date, a budget habit. Keep financial items to goals you set for yourself; this is not financial advice.
Common mistakes to avoid
- Too many goals. Three to six themes is plenty.
- All outcome, no action. Pair every theme with at least one small step.
- Comparing yourself to someone else's board. Public boards are curated. Yours only has to be useful to you.
- Never looking at it again. Put a weekly reminder in your calendar.
- Treating it as a test. If priorities change, change the board. It is a living document, not a contract.
A quick-start checklist
- [ ] Choose a time frame
- [ ] Write three to six themes in a notebook
- [ ] Turn each into one specific wish
- [ ] Pick a format and set a limit on the number of images
- [ ] Collect one to three images or words per theme
- [ ] Arrange the board and add one WOOP plan per theme
- [ ] Hang it where you will see it
- [ ] Add a weekly five-minute review to your calendar
Final thoughts
Knowing how to create a vision board is mostly about being honest regarding what you want and what stands in the way. The collage is the fun part, and it can make your goals feel real. The writing, the obstacles and the weekly check-ins are what turn those pictures into a direction. Start small, keep it specific, and let the board change as you do.
Sources
- Suttie, J. "Can Positive Thinking Really Make Dreams Come True?" Greater Good magazine, UC Berkeley, December 17, 2014. https://greatergood.berkeley.edu/article/item/can_positive_thinking_really_make_dreams_come_true
- Matthews, G. "Goals Research Summary." Dominican University of California. https://www.dominican.edu/sites/default/files/2020-02/gailmatthews-harvard-goals-researchsummary.pdf
- WOOP (Wish, Outcome, Obstacle, Plan), as described in the Greater Good article above and on the WOOP project site: https://woopmylife.org and its practice guide (inner obstacles, if-then plans): https://woopmylife.org/en/practice
Journaling Prompts for Self-Discovery: 40 Questions to Get to Know Yourself